A shape that lies entirely in a plane parallel to the picture plane has a perspective image that is an undistorted miniature of the original.Since we're aiming for a cube, the front face in real-life should be a square, and so the front face in perspective must be a square as well.
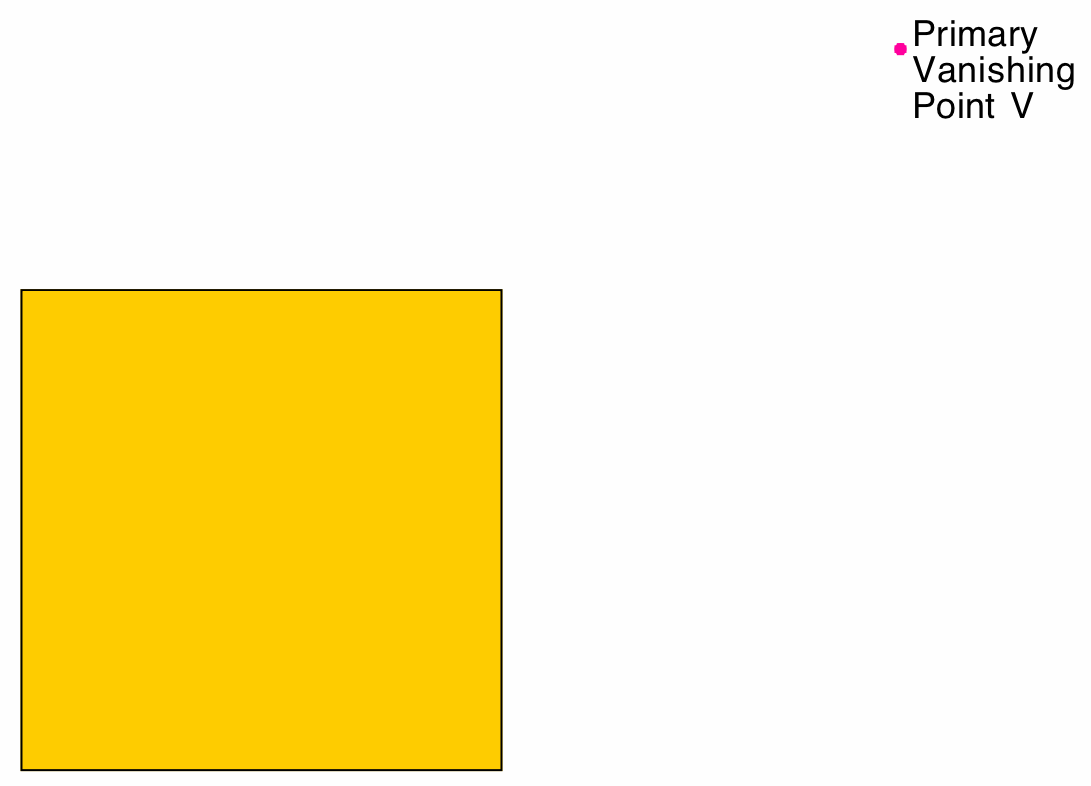
In fact, since the front is parallel to the picture plane, these new edges will be orthogonal to the picture plane, and hence this vanishing point will be the primary vanishing point.
I can choose to put this vanishing point anywhere I want to, but I should be aware that when I choose it I am choosing the point opposite which the viewers should ideally be placing their eyes.
 | 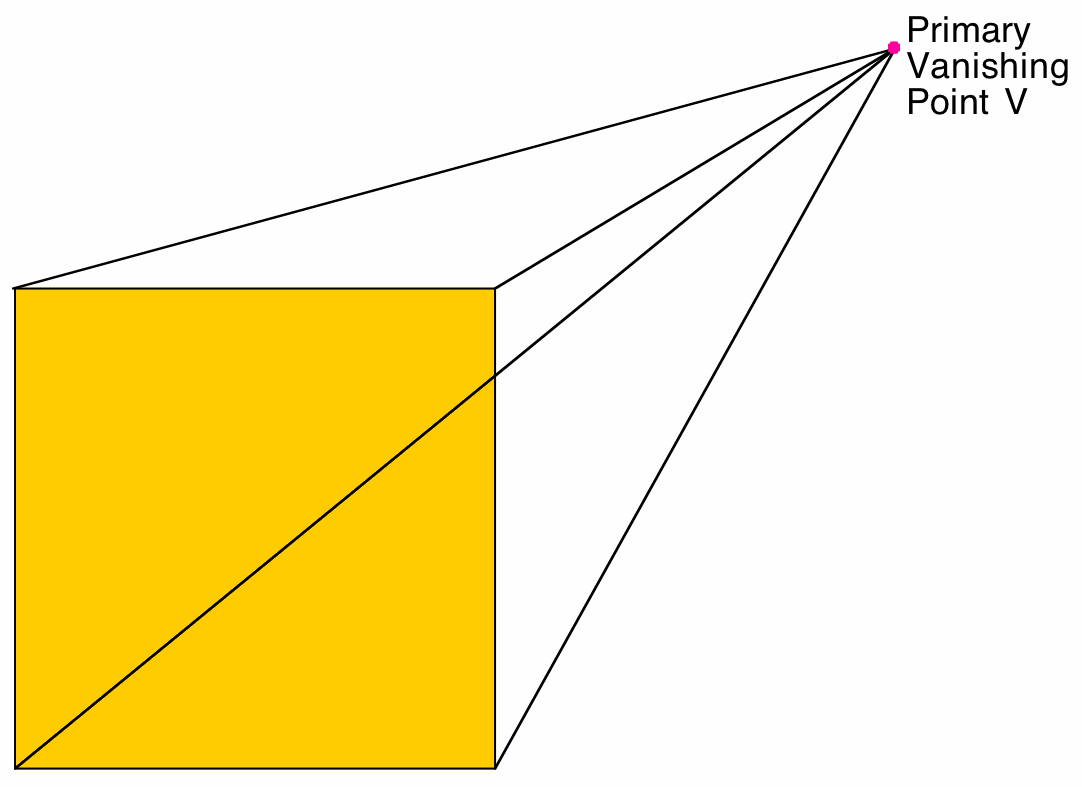 |
Within the confines of those lines, however, I can put the back face however far back I want to. Again, I just need to be aware that when I choose where the back goes, I am choosing the viewing distance -- the ideal distance back from the primary vanishing point that the viewers should be placing their eyes.
I have a choice -- I can either choose where to put the back, and let that define the viewing distance, or I can choose the viewing distance, and let that define where the back goes.
In your homework, you will be doing the latter, so here, I will illustrate the former.
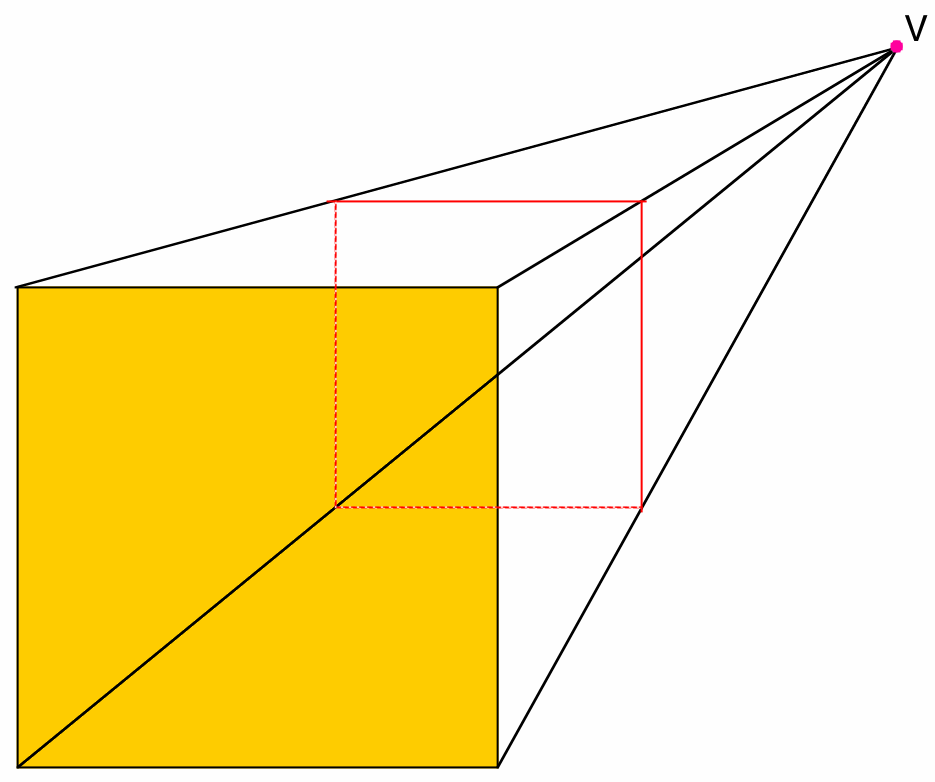 | 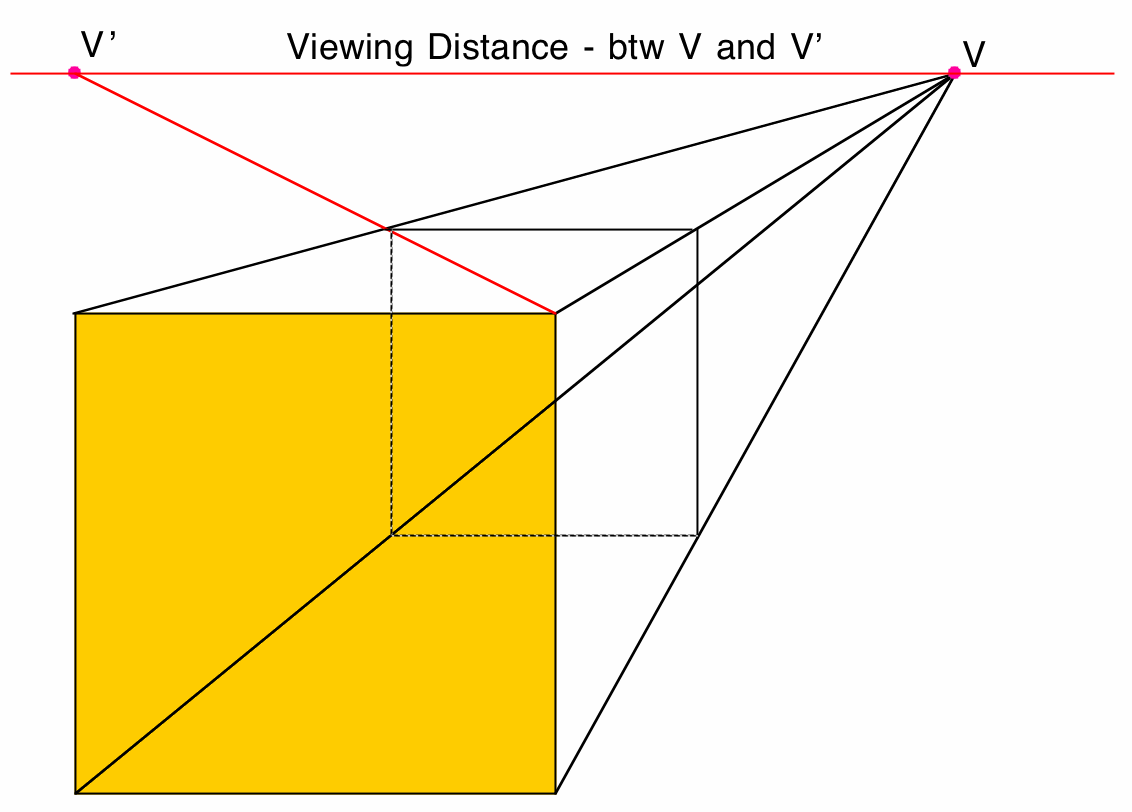 |
| Here, I choose where to put the back | Next, I find out what viewing distance that choice determined. |
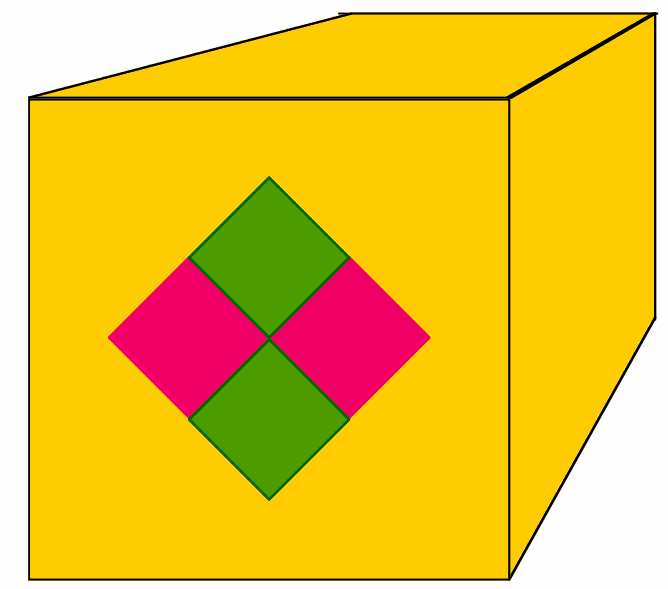
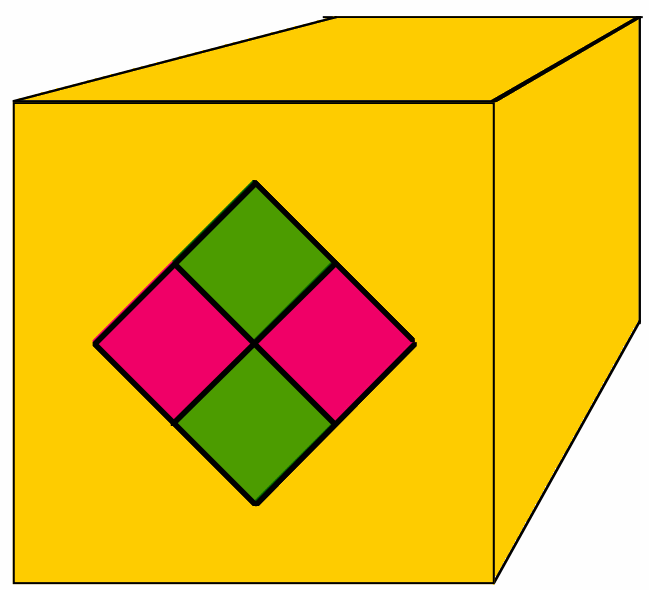
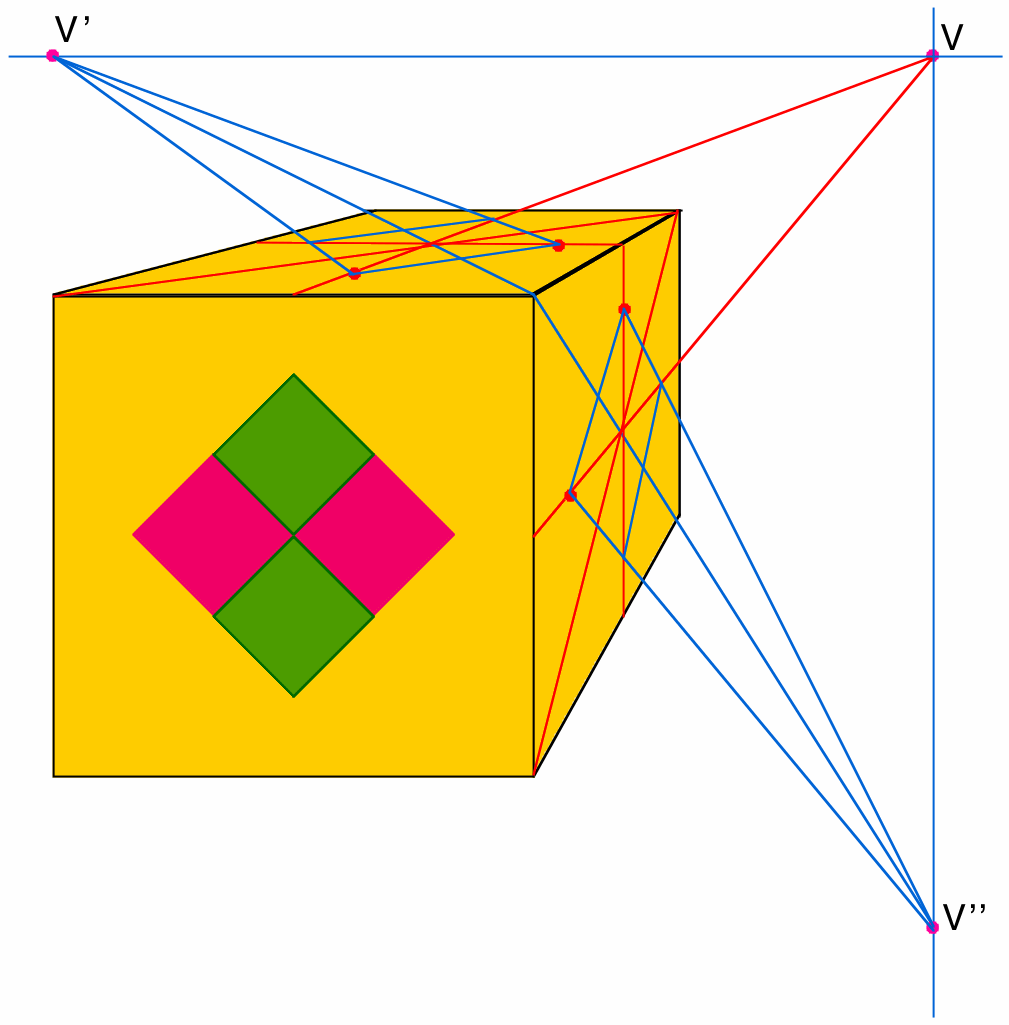
The corners are located on the lines that bisect the face horizontally and vertically. Also notice that the center of the design is located at the center of the face -- where the two diagonals and these two bisecting lines all intersect.
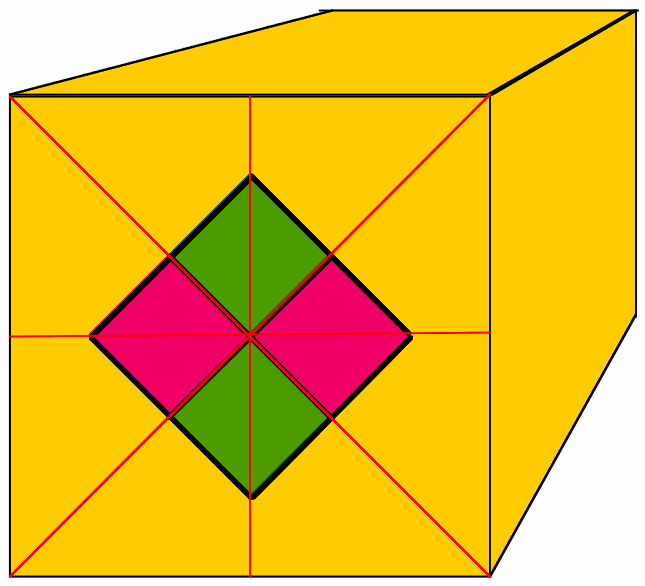
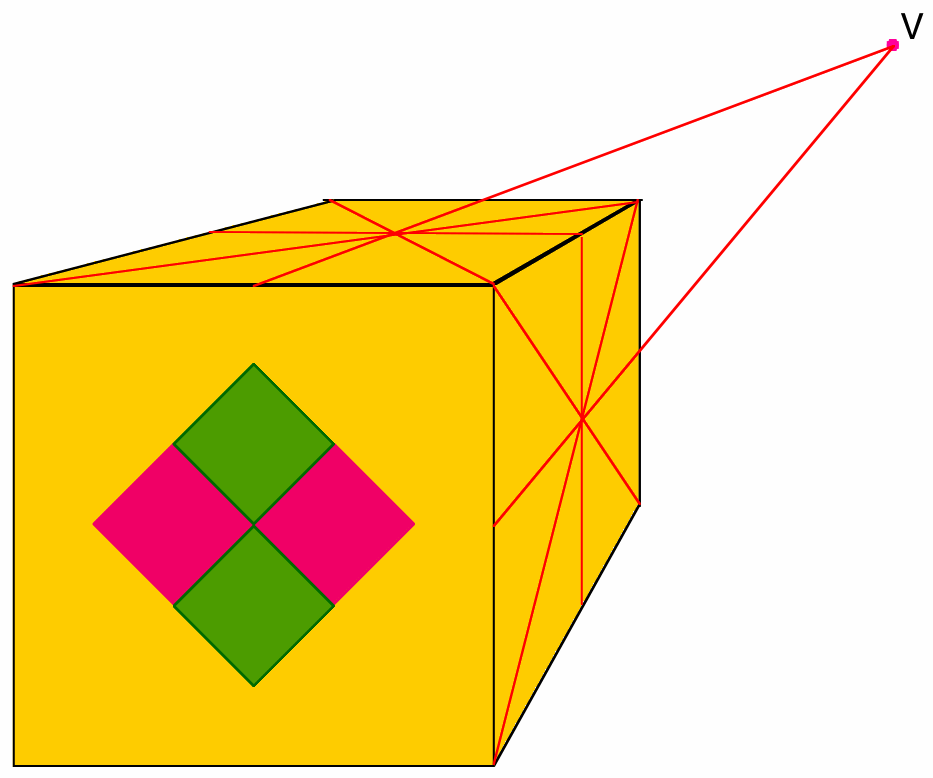
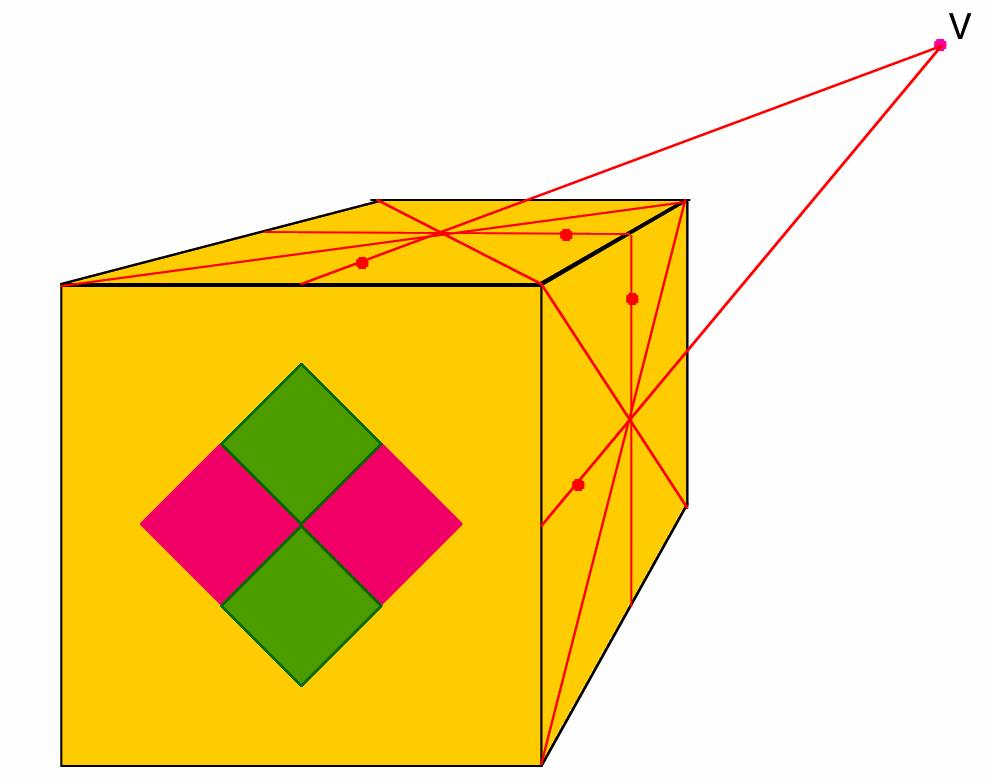
Similarly, on the side, lines from the corners will share the same vanishing point as the diagonal, and that vanishing point will be on the vertical line through the primary vanishing point.
So our first task is to find the vanishing point for one of the diagonals of the top face and the vanishing point for one of the diagonals on the side face. Then we can figure out where the first set of 3 parallel lines on each side should be.
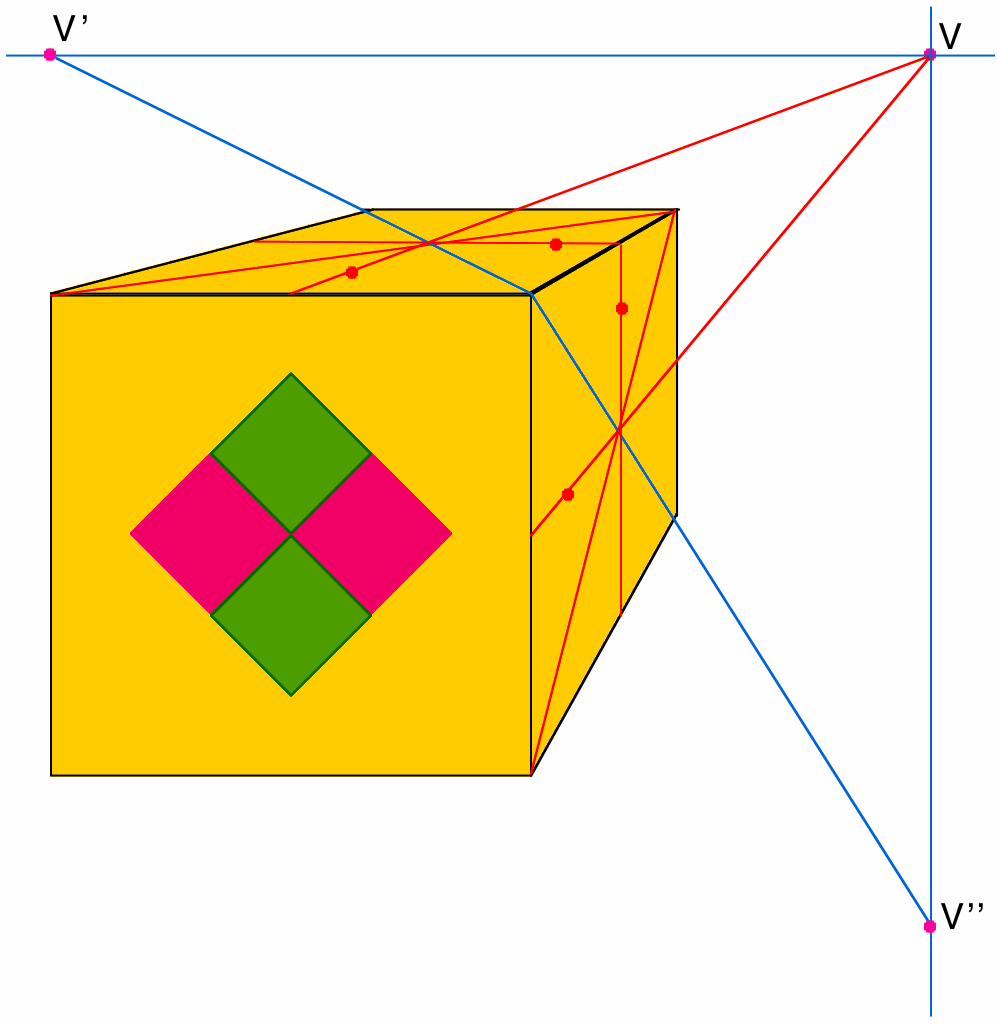 | 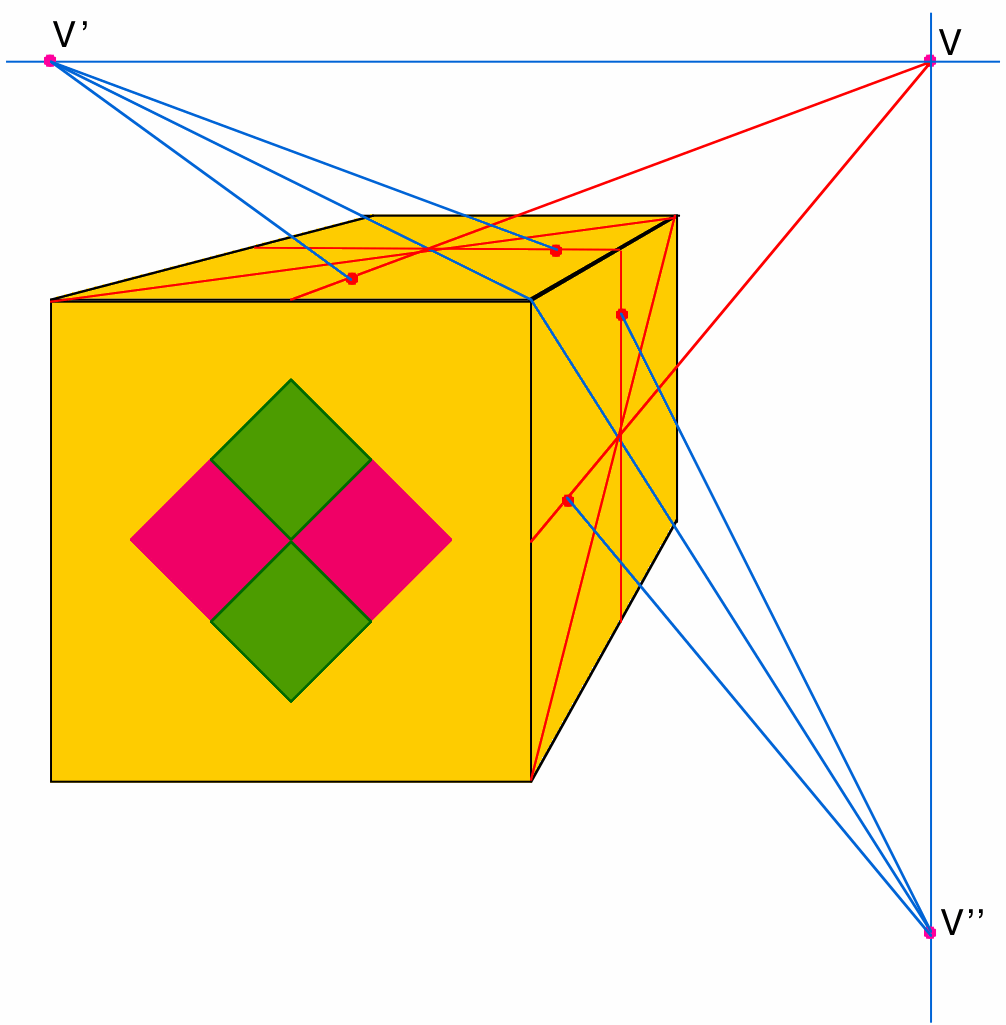 |
 | 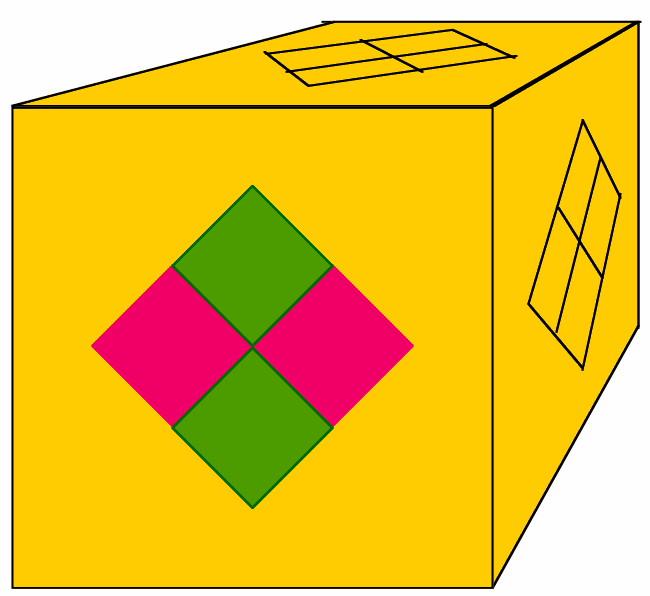 |
| Here, I've added the other two sides to each square | And now, I've erased all the extraneous lines. |
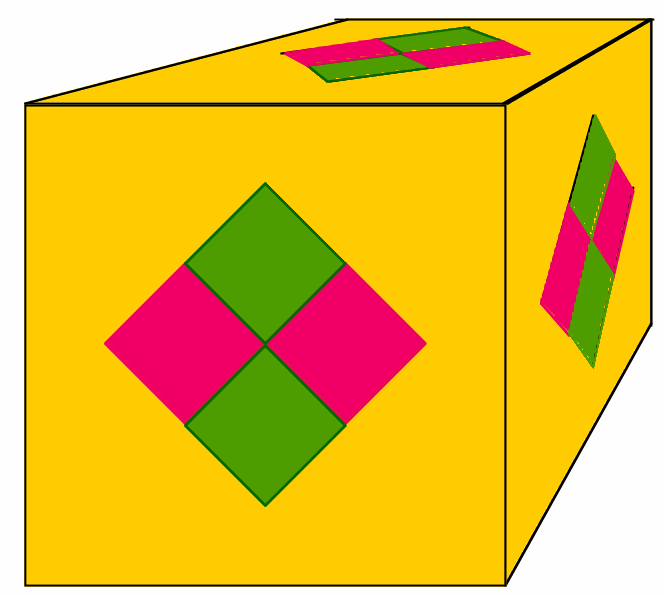
And now, I just color it in!
Next - Subdividing and Duplicating rectangles